Red & Gold Trained gown: making the bodice
I promised to eventually come back & create more diary entries for this project. So here I go:
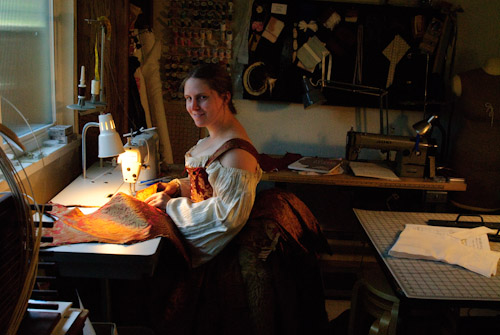
I machine basted the shoulders on this entirely hand sewn bodice, *facepalm*. Those machine basting stitches were pulled out later but I find it ironic that I have the patience to hand sew a garment but not to hand-baste two wee, little shoulder straps to check the fit. Life is full of contradictions.
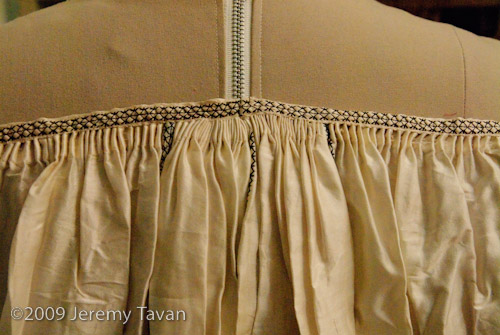
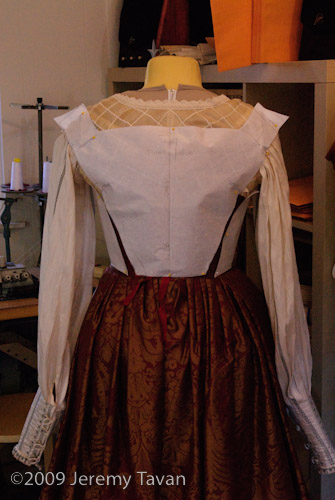
Here I have on all the undergarments, getting ready for the first try-on of the final bodice. I had just removed the original pleating on the camicia so it was hanging off my shoulder. After fitting the bodice straps (with the help of my housemate), I then made a new band to pleat the camicia neckline to fit.
I often rush on things I make for myself so it was too late before I noticed I messed up the final machine embroidery on the band. If you force the machine to go faster it can change the rate of the feed dog and alter your pattern!! Now I won’t make that mistake again. If it was a commissioned peice, I obviously re-do it but luckily it was for myself (& in the back where it would not be visible when worn). So the little flaw remains and it is easy fix to remake the band if I ever get around to it.
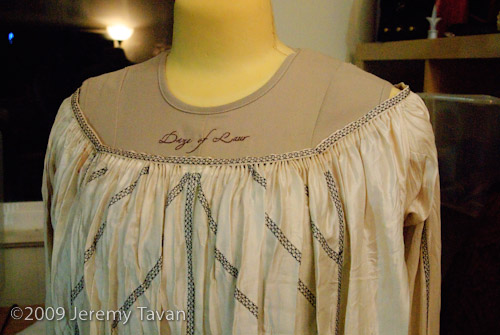
Front of camicia with new band shaped to match the bodice neckline:
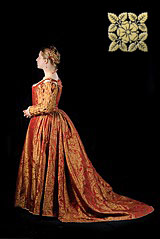
On the Realm of Venus showcase I briefly discussed the technique used to create the smooth shield shape of the bodice. Here I’ll show a bit more step-by-step construction.
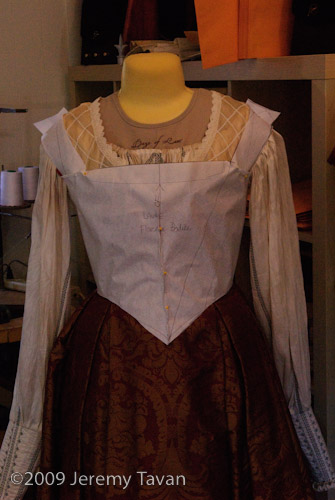
Initial rough patterning pinned up over my mannequin wearing all my undergarments.
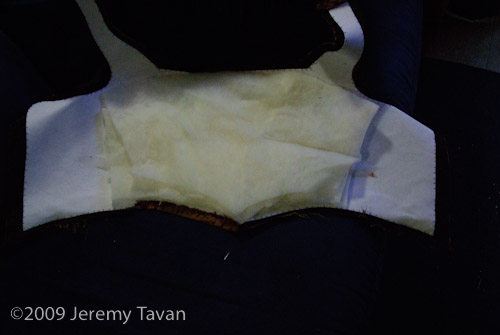
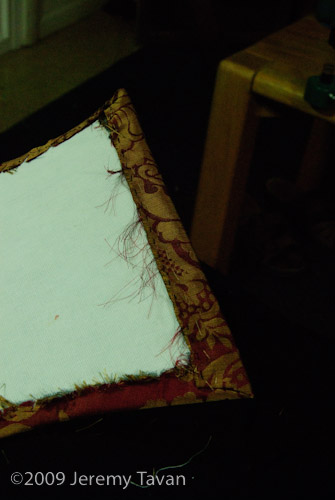
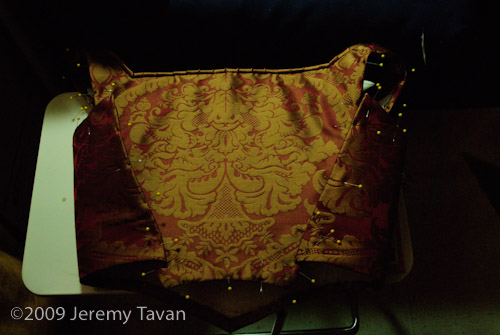
After checking a mock-up for fit I proceeded onto cutting out the real bodice. The fashion fabric was cut with seam allowance. Then interlining of thin 1/8″ loft cotton batting pressed to light buckram was cut without any seam allowance then the batting was roughly stitched to the buckram.
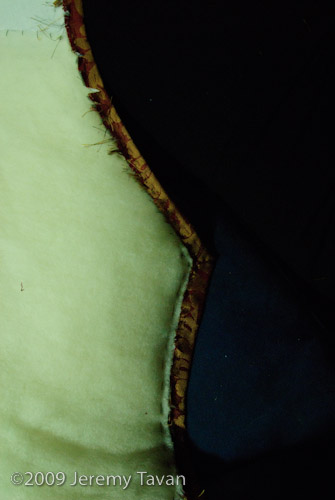
For this bodice the wool is cut in successively larger pieces basted together, like when you make a shoulder pad from scratch. The wool was only necessary because I wanted a very curved out shield like shape to the bodice without trying to force my body into that shape. So my solution was layering wool batting to create padding to fill out where the bodice wanted to cave in a bit under my breasts. I have no reason to think it was done this way in period, but to me the final results were worth the experimenting. Perhaps lining a bodice in fur and then cutting the fur length & leaving it longer in that center area might create a similar padding support.
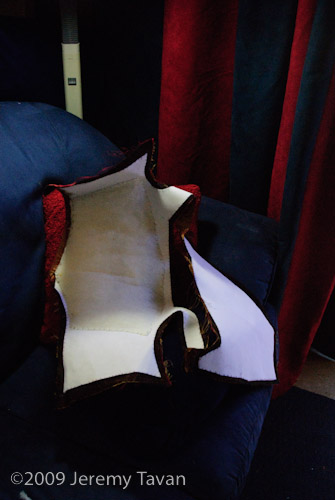
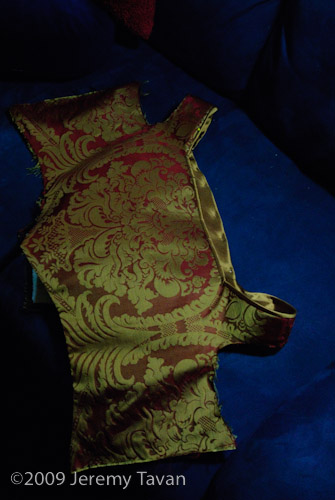
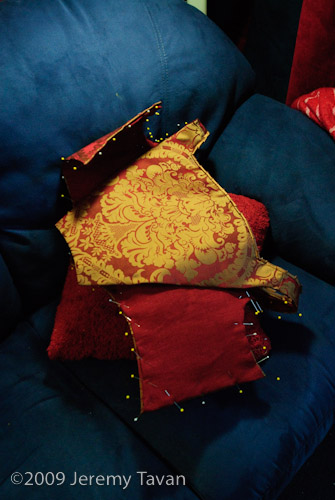
The important part with using the buckram was to make sure I was sewing it how it would lay curved in the final bodice because I didn’t want it to get crunched up. So this bodice does not lay flat when not on a body. It has the curve built in.
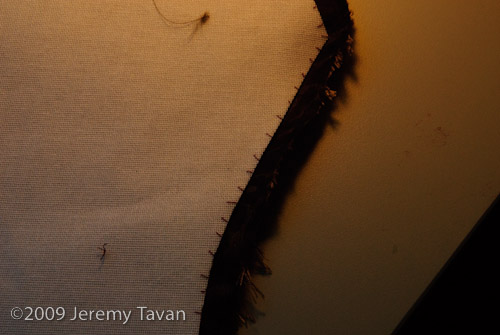
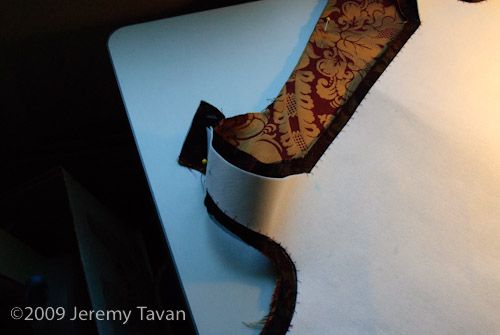
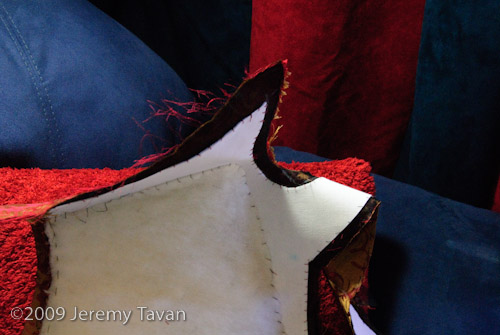
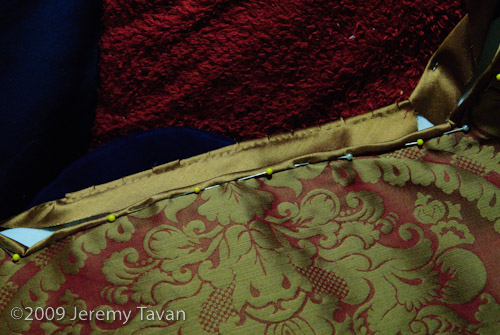
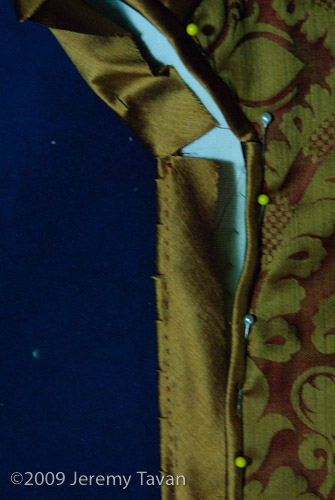
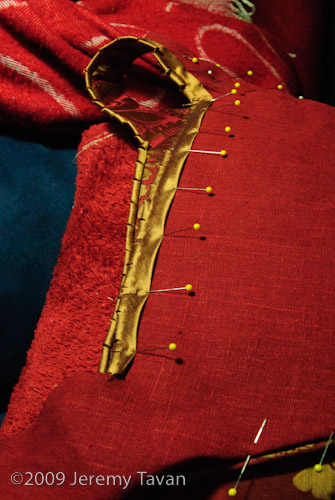
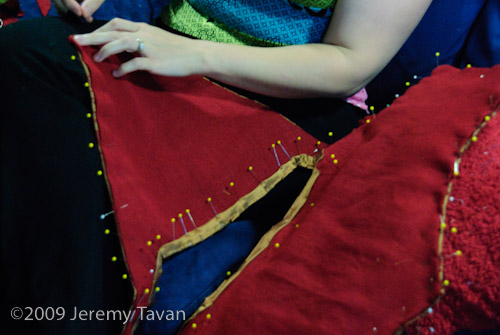
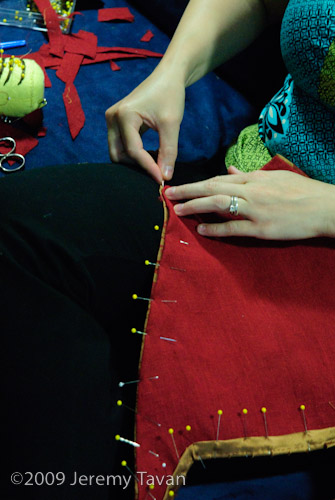
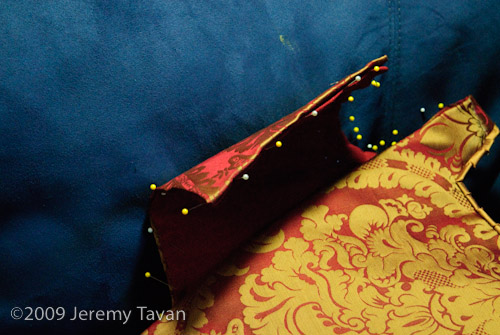
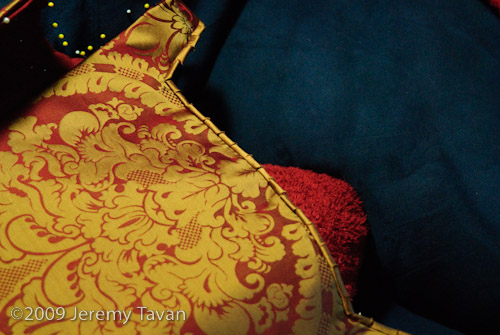
All the seam allowances were then rolled over the edges of the buckram and basted. Bias was applied to the neckline and rolled over the edge. Snipping at intervals creates the decorative trim. It was hand stitched along the seamline & then hand stitched to the red linen lining. The entire linen lining was hand sewn in covering the seam allowance of the fashion fabric which has been basted to the buckram.
Like the layers of an onion, the lining inside is smaller than than the fashion fabric on the outer most part of the curved bodice.
Next comes all the hand sewn eyelets, the sleeves, the lacing and the first try on the mannequin…..



1 Response
[…] I first saw this ‘fill in the concave bits’ idea on Laurie’s beautiful gown (dazeoflaur.com), then recently some really neat ideas on using a padded stomacher and buckram ‘boning’ […]