Mannequin: successful surgery
The long awaited boobie removal surgery has occuried, not once but twice in my workroom. Ever drape something on your “Uniquely you” over a corset, and have it just not fit right when you try it on?
The boobie placement could be one of the major factors causing these irritating inaccuracies. The Uniquely me form is my favorite since you *can* corset it but I have noticed the flaws in doing so. It just doesn’t necessarily squish the way you do!!!
I do wish I could have a form that mimics the density of my body but until then I decided surgery was in order. I know other costumers who have removed their mannequins breasts to create a flat silhouette but in this case I’m trying to mimic the actual squish of my flesh in a corset. My current cover is fit over a bra which doesn’t cut it as an undergarment for historical costuming.
So while this technique isn’t for drafting/draping corsets themselves, it does help create a better mannequin “you” for draping/displaying historical garments on your “Uniquely you” form over a corset.
Please don’t try this at home unless you are willing to risk damage to your form:
Step 1 – Undress – including cover:
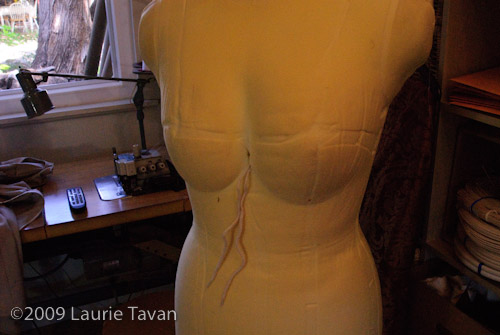
I tested out the theory on my own mannequin first and then proceed to a clients mannequin.
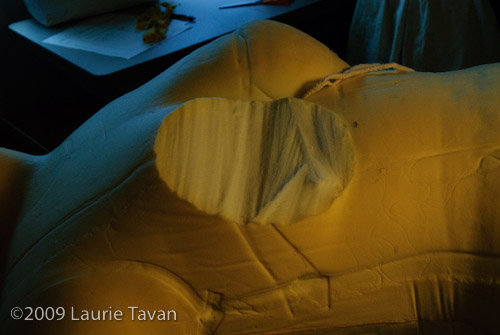
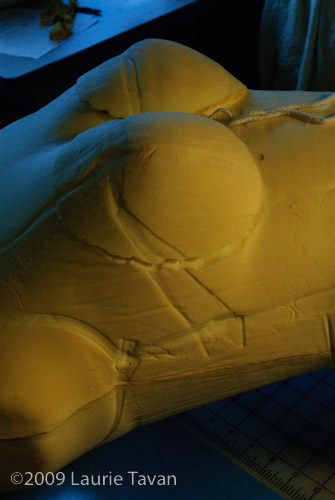
Step 2 – Saw off boobies with bread knife
This was my first try so it dipped in a little more than planned. On my second try it was more flush with the underbust depth. The boobies can be placed back in the exact same spot at anytime, but now you can move them around: up, down, side to side.
Step 3 – Replace boobies where they should rest in the corset :( forgot to photo this step!)
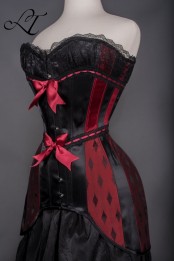
For instance, my Victorian corsets have more lift than my Renaissance corsets. But taking a side view shot of yourself in the corset and then moving the bust of the mannequin until it matches the side view when you place the corset on the mannequin can help create the right shape for draping on your mannequin. It won’t be perfect but it will be more realistic and hopefully lead to less fiddling when fitting yourself.
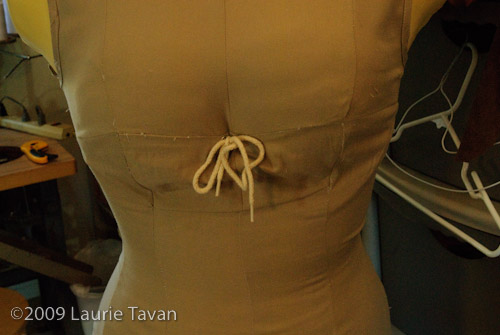
Step 4 – replace cover on mannequin
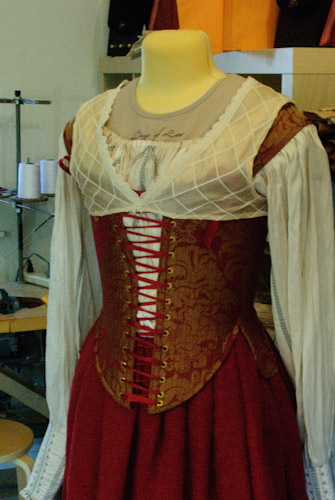
Doesn’t she look funny! But the point is that the corset will be the new “cover” for the bust portion so you don’t have to refit your cover for every era- just move and put on your correct undergarments before starting your over garments.
Step 5 – Put on undergarments & lace on corset to check fit.
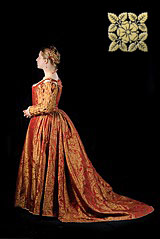
All the fitting for my Florentine gown was done on this mannequin after her surgery. The only things I had to baste and refit on myself (and not on the mannequin) were some shoulder problems due to the strange shoulder stubs on the mannequin which did not work well with the shaping of the bodice.
So this surgery helped me solve the problem of getting the correct shaping of the upper bosom which was not possible with the super firm, stationary bosom that only squished inwards. While it looks odd that the cover does not fit now, the bust can be re-positioned many times to get the right profile view for each era. This is especially important when I’m sewing for myself. Because really, it is a pain to fit yourself without help. So my mannequin is my best estimation. I wanted her to be better & now she is. So plastic surgery, uh hem *cough* foam surgery it had to be!
Now I’m tempted to try to cut the arm stubs…. Cause really, she just doesn’t work well with sleeved or off the shoulder garments.



I did the same with mine some time back, and now have dubbed her “Bessie Blunt” because of it. The thought of reshaping the arms stubs sounds good, too. I am just not sure what part I would reshape.