Wedding ensemble: pleating w/ the perfect pleater
I have made fabric pleater tools out of cardboard in the past but never 22″ wide and with a small return. I knew the total circumference I wanted at the hemline and a full return knife pleat was going to be too generous. Since these were to be fully pressed pleats I knew a tool was going to be invaluable. So I promptly started cutting up manila folders and doing the math. Until my roommate pointed out that Clotilde carried the “Perfect pleater”. It happened to be 22″ wide and was on sale for half price with a 3/8″ return. I was sold almost…
I knew the price of the tool was going to be less than what I could pay myself to make the tool so I did decide to buy it. Valuing your time and knowing when to buy rather than make something is a skill in-and-of itself. I always want to “make” but I even flirted with the idea of getting a company to pleat the skirt but the amount I needed so tiny that doing it in house was the best option.
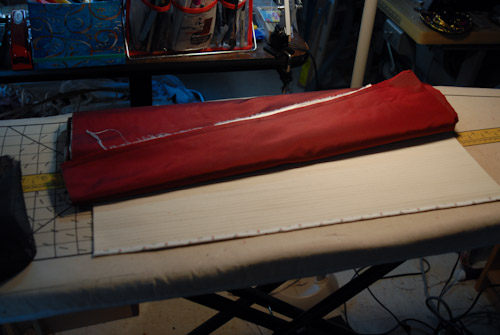
So with the pleater on order I went to work prepping the fabric. The ruffle is made up of two crisp silks:
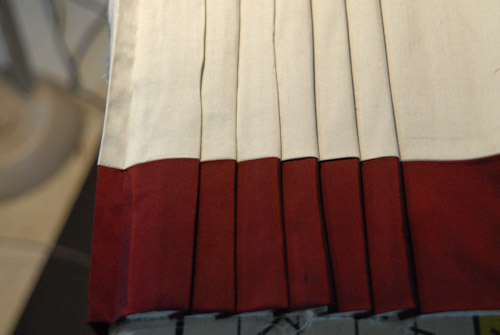
The bottom circumference was set and the bottom edge finished. The final length of the skirt will be adjusted at the upper edge of the pleated ruffle. This way I can pre-set the pleats with a hem already built in.
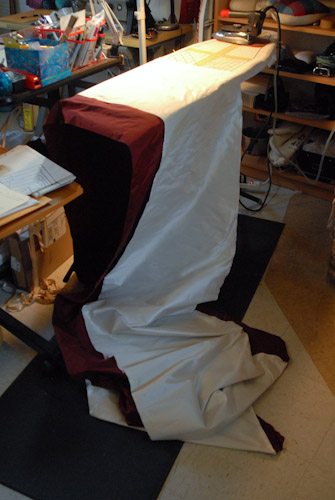
Neatly pressing the hemline with a see-thru silk organza strip:
The pleater arrived very promptly though so with my new tool and instructions in hand I went to work. As I started using the pleater, I got to thinking, will this pre-made pleater really be able to handle two layers of fabric with a seamline? I hadn’t even thought of that. The instructions have recommendations for folding over your fabric fully to eliminate seamlines but there was no way I was going to put 22″ of red silk hidden inside the skirt. It was important to use another less expensive silk and maintain that yardage of the red for the gown itself. So I went ahead and tried with the already sewn seamline.
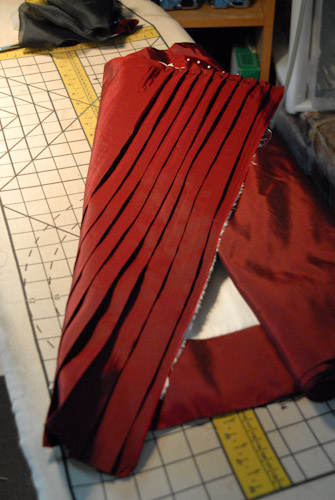
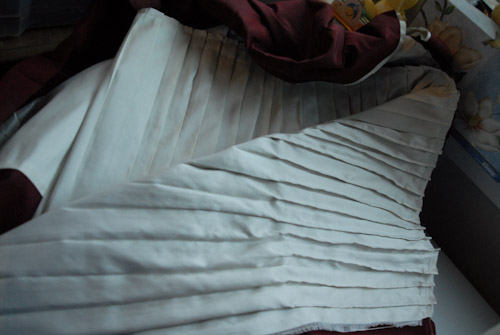
I first stared pleating from the lining side:
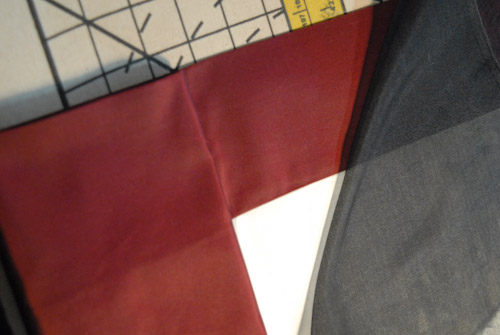
It went very smoothly – I pressed the pleats and then pulled it out and flipped it over. I knew I was going to have to allow for some “sway” of the fabric near the seamline. Then I was horrified to see how wonky the pleats looked on the actual dress side:
My instinct was to do the pressing from the lining side but in the end I realized it had to be done from the front. No matter how careful I was when working with the two layers the underlayer would shift a touch. So I reversed my method and pleated the red upwards using a press cloth so the perfect pleat edges are pressed into the fashion fabric where I can see that they are perfectly lined up.
By the end of the row of pleating the lining pleats were almost identical to the fashion layer pleats. Practice really does make perfect and the perfect pleater was able to handle the two layers and even the seamline. I just had to make sure not to over-press the seamline or over force it into the pleater.
I sat playing with it for a while myself and then had my mother-in-law and my roommate look at the process and mess around a bit with it as well. After my first two sets I mastered the pulling, tucking, and pressing. The silk was pressed with a linen cloth with white vinegar:water (1:9) solution. (Please always test your fabrics for running and/or staining before pressing with any liquids). The silk handled the treatment beautifully. While not permanent like you can get by partially melting polyester fabrics, it is holding a nice crisp pleat all the way down. I think the most important part is steaming the pleats with a well rung out press cloth and letting them fully fully dry. After dry, I removed them from the tool, pinned them down evenly and did one more dry press.
I also experimented with stay stitching the inner return on the pleats part way to create a more permanent pleat:
While I liked the idea of stitching them into place it ended up looking disjointed and not fluid enough for the skirt so this idea was abandoned.
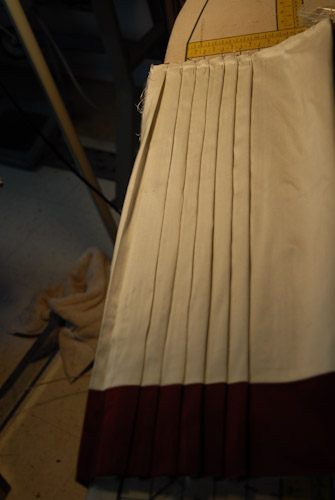
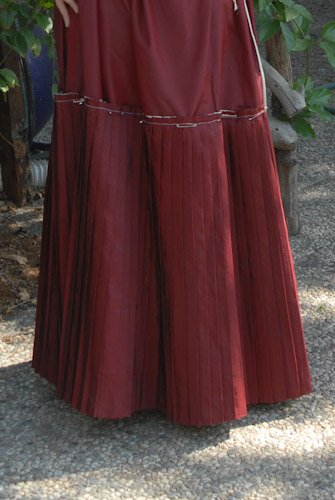
Completed pleats safety pinned onto skirt base:




Fantastic! I can not wait to see the final product! Great review as well, very helpful and informative.
Pleating 101: Thanks for the tutorial!
I was just thinking about ordering the Perfect Pleater myself but wondered if it really did work. Thanks for letting me know it does! ::off-to-order::
Truly a good time if done with the right attitude.
Hey, I’m enjoying your blog! I dithered about buying a perfect pleater with my last Victorian dress but since I was making it in about 3 days flat there wasn’t time to order. Based on this I think I will go ahead and get one!