
Steampunk Bridegroom Ensemble: making of
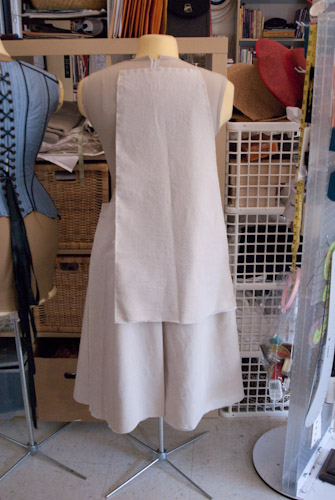
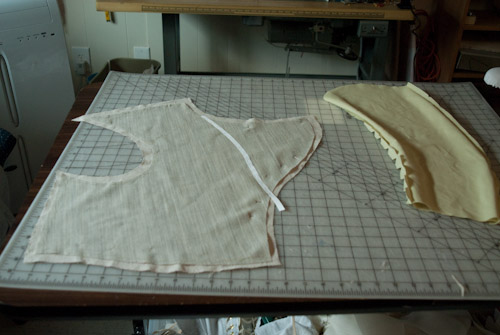
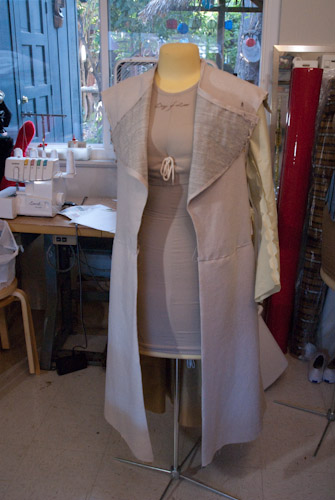
I’m going to try to go back and document some of this fantastic project. Like usual it started with a muslin toile that tells me enough to make pattern adjustments but doesn’t really show off how fantastic the final garment will look:
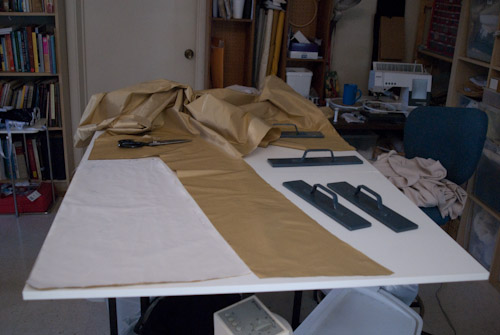
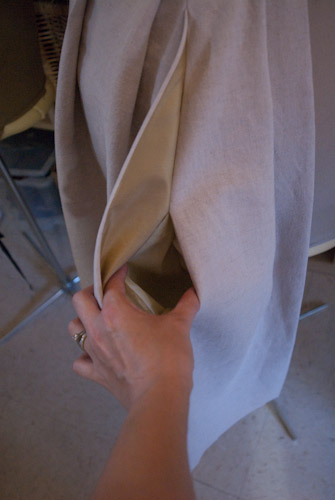
Once the patterning was adjusted I went onto work with the actual natural colored linen. It was a nice find down in LA. The weight was lighter than I wanted but so well suited to the project that I decided to underline it in silk satin organza to add body to the jacket. The pieces were cut and hand basted to the organza and then hung for a week to let the fabric hang out before stitching.
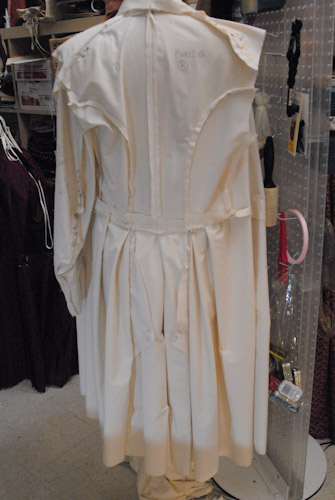
This linen wanted to droop a lot. It became important to let the final jacket hang out on a form before hemming to get as much stretch out of the bias of the soft linen. The final unfortunately has some sagging but my client has been instructed to bring it back to be re-hemmed it if continues to stretch! Fiesty little fabric – just when I thought I had let it hang out enough it found more stretch in reserve! *Grr*
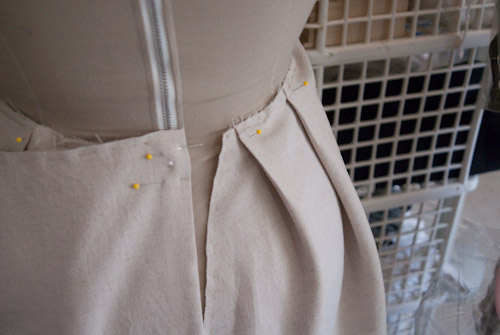
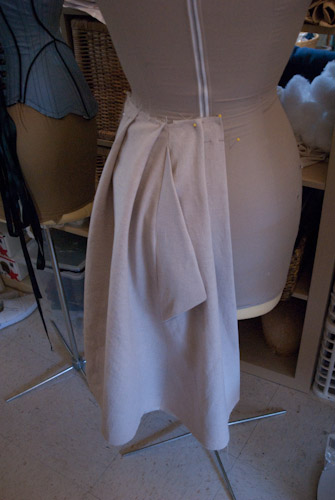
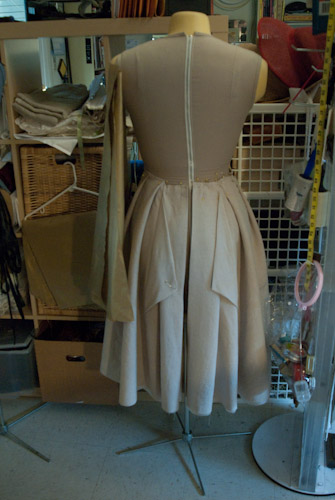
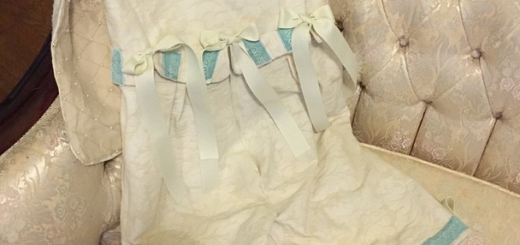
Pleating at back waist:
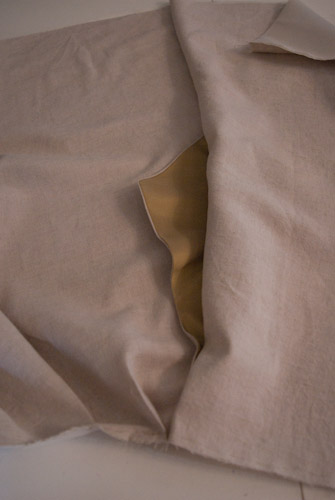
Silk Taffeta lining:
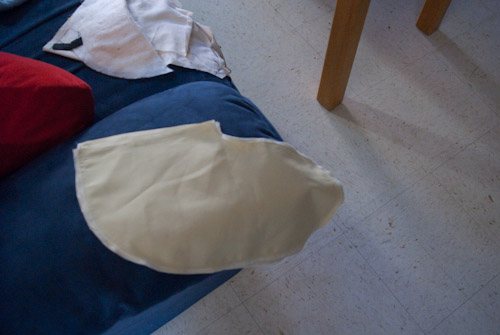
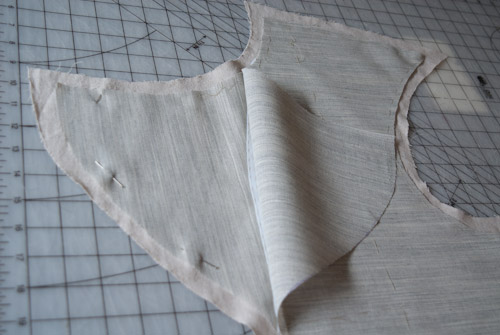
Pocket:
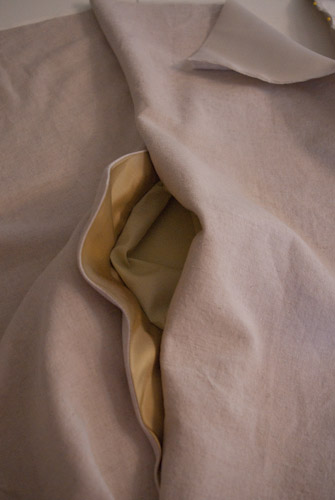
Pocket flaps:
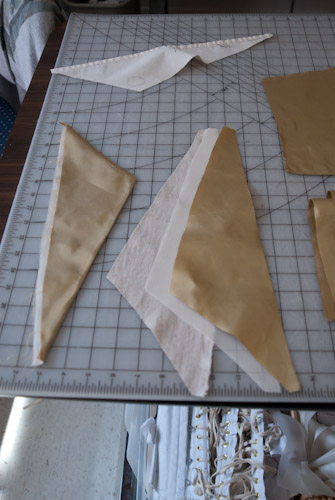
The neat part is that the pockets are actually set into the back of the jacket with decorative pocket flaps that button shut. It as a neat feature to figure out.
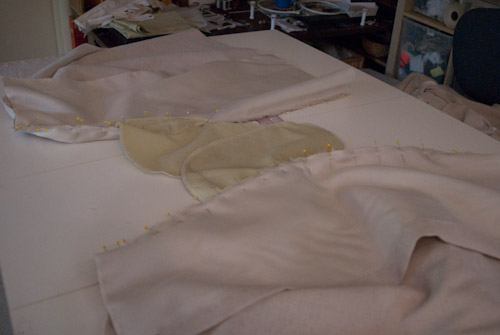
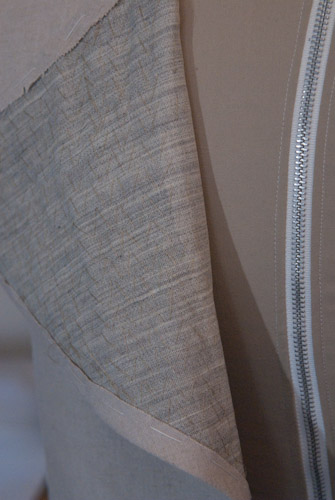
Inserting the pockets:
Shown on my female form (I’m ordering a male mannequin shortly!):
Pocket flap lining:
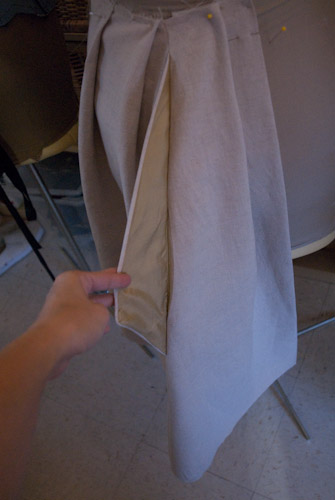
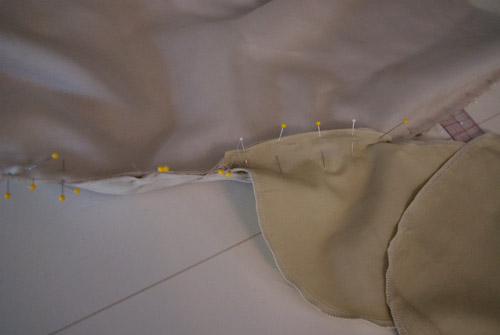
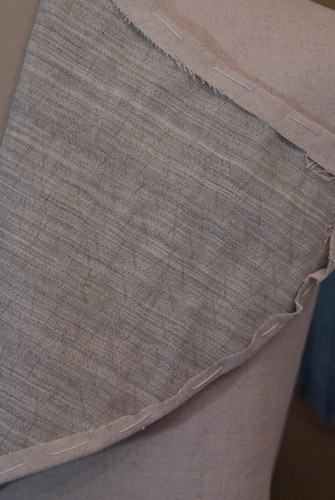
Pocket opening:
The pocket opening were reinforced with tailors tape to prevent stretching from storing objects in the pocket.

Making the custom machine embroidered star buttons:
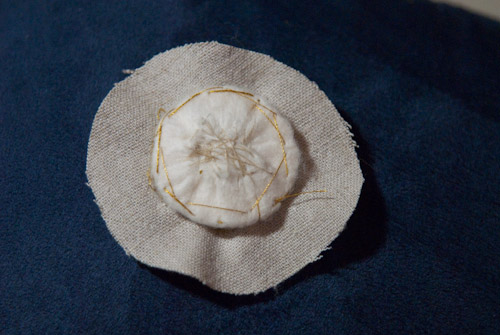
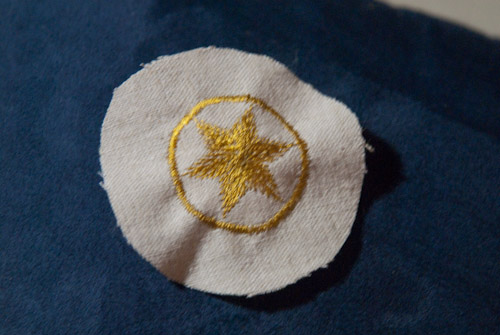
These are made over bone button molds that I covered first in a layer of batting to make them slightly larger in diameter.
One sleeves & basting in the canvas & fold line for lapel:
Adding a second layer of canvas 90 degrees to the first on the lapels:
Pad stitching the lapels:

I am definitely improving on my pad stitching. There are a few sections you can see where I pulled a slightly too much and there are slight ridges formed. You want to get it to roll smoothly as possible & your stitches to hold it smoothly as possible. Those do not show in the final garment in this case but tension if very important in all your hand stitching and maintaining a consistent tension is the goal.
At this point the garment was ready for the second fitting :)

This is cool, seeing the interior work you did on this suit. May I ask if you designed the pattern, or used a commercial one, and if so which?
And where would you find a man’s mannequin? I’d like to get one myself, since I’ve made up many men’s outfits, and need something without breasts and minimal hips myself.
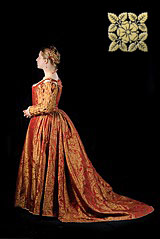
I patterned it myself pulling details out a few Victorian tailoring books, from Stardust the movie, & from 18th century extant garments. The jacket itself is odd because it is kinda a morph between a frock coat, what some might call a duster, and a cut away coat. You can start with a regular frock coat pattern and then adapt the front to cut away and adjust for larger lapels, and change the shape of the bottom of the sleeve to get the bell shape. I pulled from my knowledge of 18th century coats for some of the style lines especially the line of the shoulder and the sweep of the skirting.
Men’s mannequins are commonly made just not commonly found in the local sewing stores! I know Dritz makes one but I’m looking at a little higher end http://www.pgmdressform.com/dress-forms-dress-forms-c-1_31.html. I need to shop around and find who has the best prices.
I found it irritating to work on the jacket without one. I ended up doing the front of the jacket by hanging it backwards on the form so the fronts had a flat surface!
Thank you. Interesting patterning ideas, but the end result looked great. Looks like time to save up my pennies for a dress form. Dritz is not an option, as I hate the plastic bodies; pinnable is a must.