
B&W Striped corset: patterning, cutting, & construction
This corset design was a collaboration between me and a client who is always a pleasure to work with, thank you Michelle! Like usual I pulled out tons of fabrics and she was instantly drawn to a specific fabric. It is tie silk and I wasn’t sure if it would work for a corset but agreed to test it out. I found the right interfacing and we moved forward on the design. The initial mock-up needed to be brought down in front and taken in some at the side hips. After alterations I jumped right into planning the stripes. You can get very different overall impact with the placement of any stripes.
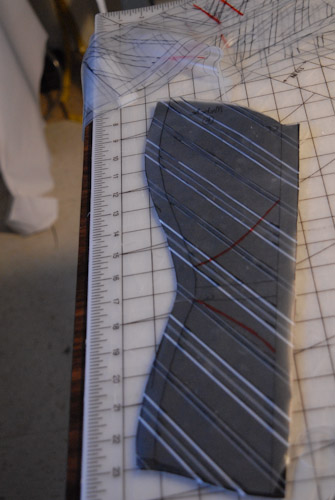
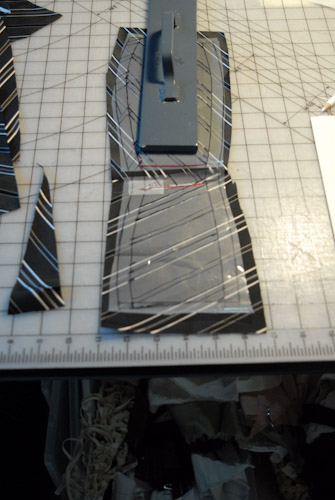
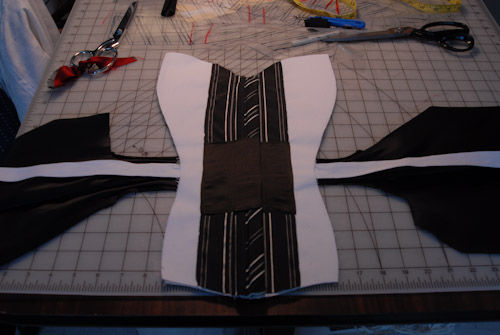
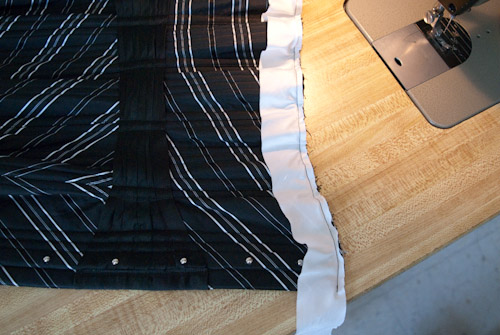
Due to the extensive number of curves on the pattern it was difficult to visualize the stripe angles in the final piece; therefore, I used the clear pattern pieces to allow me to pin it to the mock-up and see the resulting design. This also allows for ease of lining up the stripes along the seam lines.
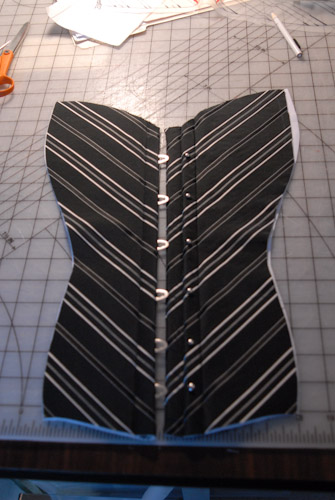
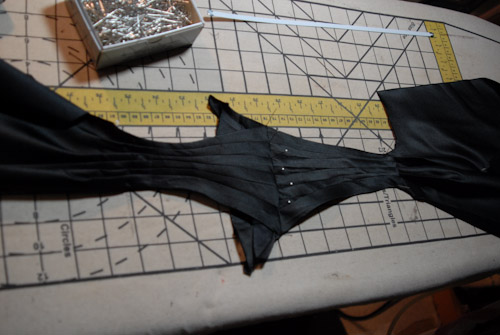
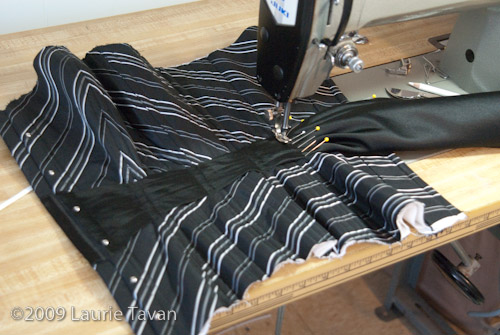
The center front during construction:
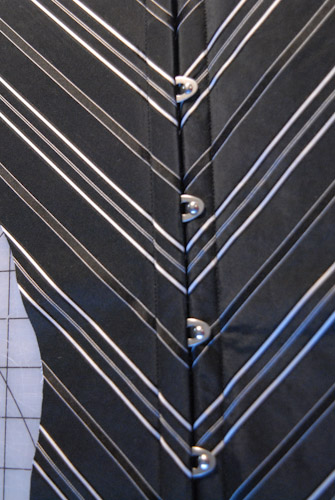
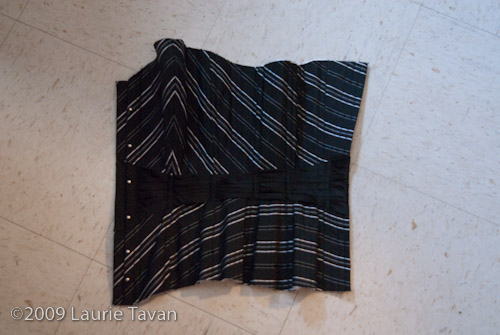
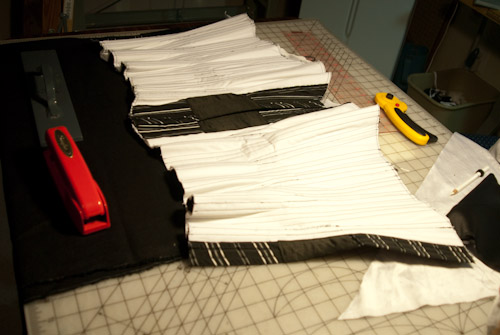
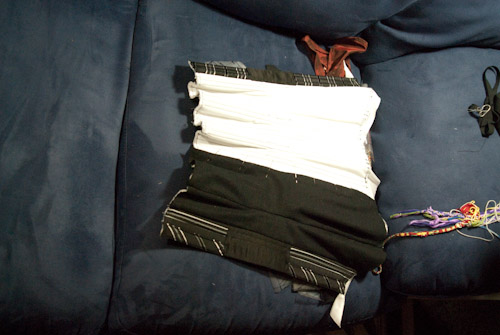
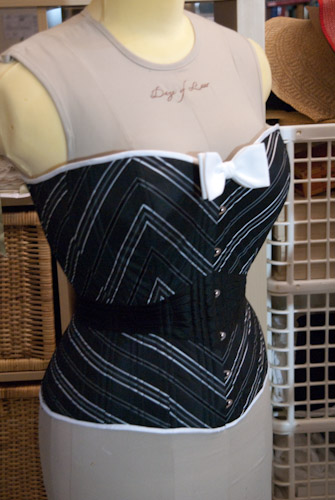
The vision was to have the fronts in a chevron that followed through to an angle in the back but then have the bottom of the corset stripes sweep up and around to the back separately. I think it is an unusual and striking design. The preparation of the fabric even prior to cutting out the corset was important:
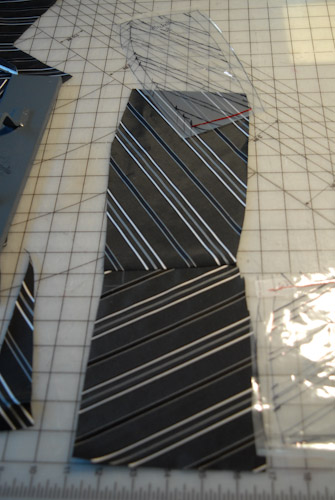
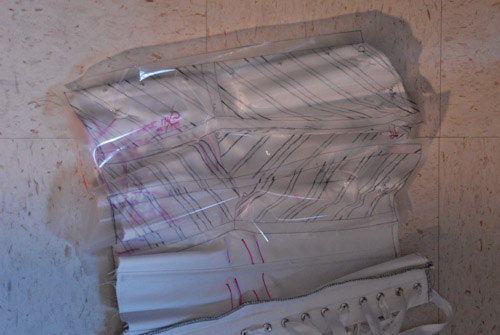
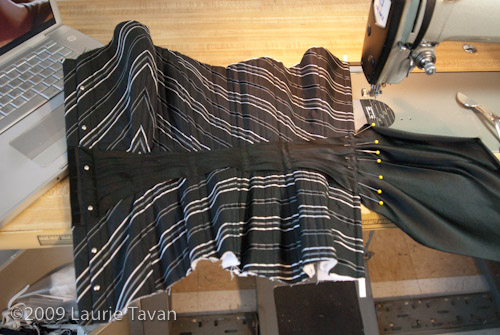
You will notice that the top and bottom of the corset are cut separately and patterned to match where possible. When you have two sets of different curves along one seam it is not possible to match at every line without some major easing which I was unwilling to do on a very structured corset where I wanted to keep the fashion fabric stabilized to an interfacing.
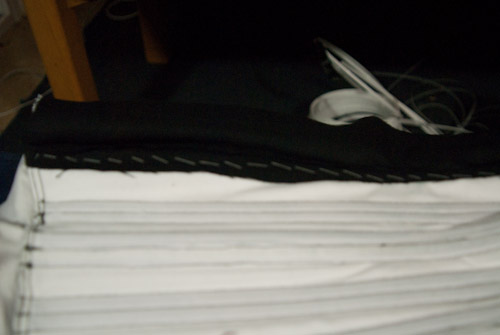
I often choose to match along the waistline on corsets but since this one was split I had opportunities to work with a more complicated patterning. Some of the curving at the ribcage did not allow for as close a pattern matching as I would have liked. There were a lot of decisions required on each piece to determine where & how much to try to ease and actually match the stripes and where they had to be allowed to be offset.
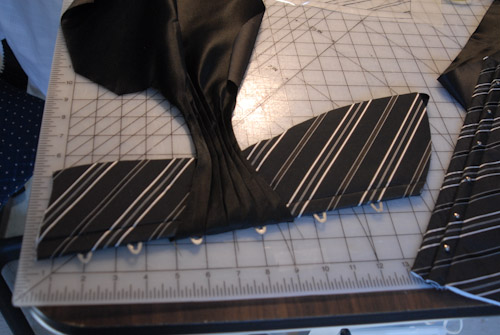
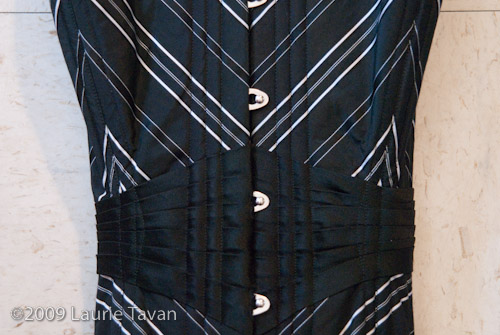
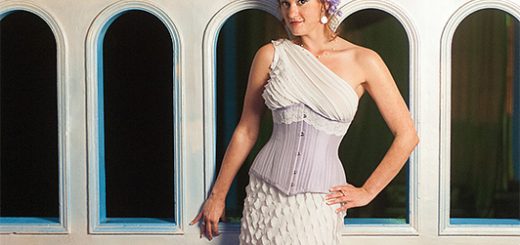
The initial inspiration for this corset was the purple corset I did with a black belt/girdle around the middle and we planned that into the design. When the striped tie fabric was chosen she asked if it was possible to pleat the band like a cummerbund. I thought it was a fascinating idea and told her I’d try it out. It did take a lot of fiddling I think the end result was worth it. The challenge was to add pleated fabric into the front without getting too thick for the busk to latch. It is tight but doable and here is how I did it:
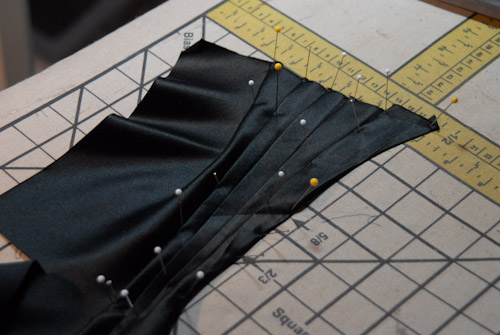
The silk satin was cut on the bias and then pleated into the curved shaping needed for the center front. I let the pleats be rather organic and take shape without trying to force it too much. Curved pleats can be fussy but I finally won out and got them to behave. While they are not identical they have the same look and feel and sweep gracefully into the desired belt shape.

I then stitched a panel along what would be the corset center front edge of the cummerbund and trimmed the excess. Buttonholes were then stitched through so that only one layer of the pleating was on the upper surface of the corset. I did not want to pleats to extend all the way around inside the corset underneath either so the flat panel was brought around back and around under the center front facing:
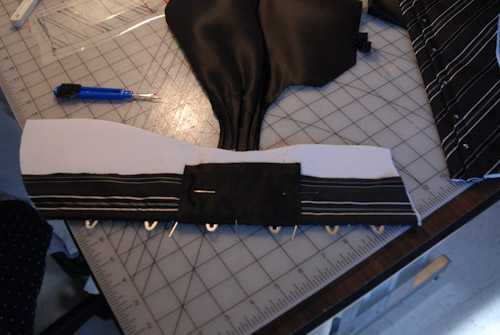
The waist tape was inserted under the belt/girdle and held down along the boning stitch lines:
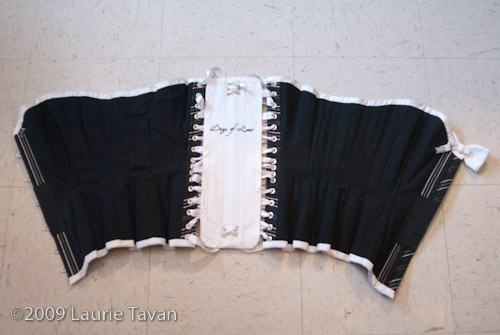
Interior of Center front:

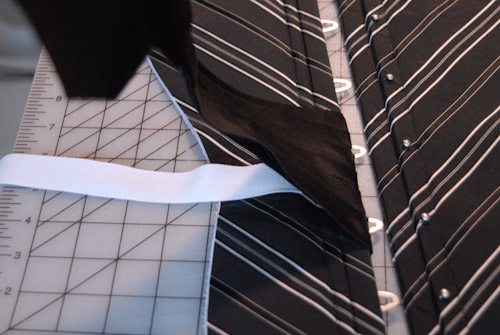
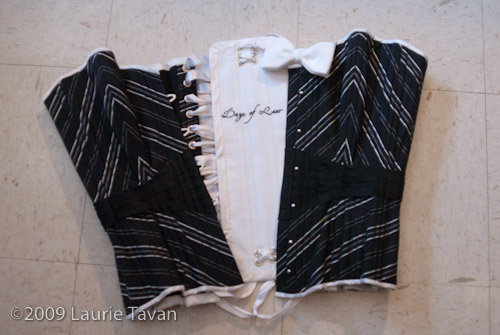
Once we were on the tie/cummerbund roll, she requested a removable white bow tie and fine white corset bias edging to tie in with the white of the stripes. My first instinct would be to have the edging in black so the white was a nice suggestion and I think it really gives a nice clean stark edge to the stripes.
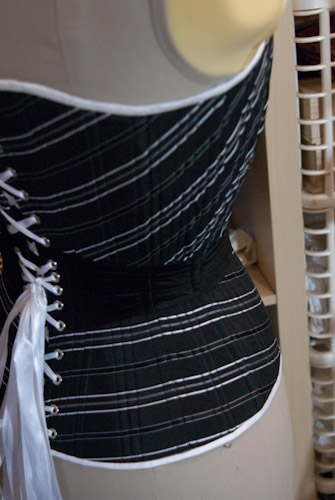
The back section was treated the same way by sewing the pleats to a separate flat piece that extended around back to secure it behind the facing.
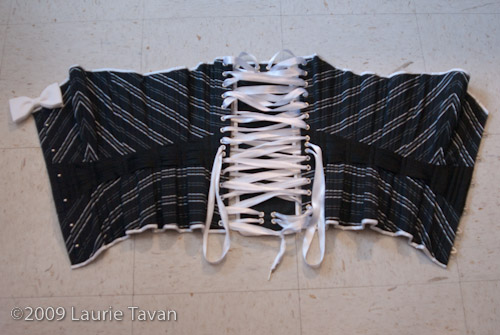
Finally the corset was lined in pre-washed, pre-shrunk black linen. I did a quick hot water test to make sure the fabric would not bleed. Each seam allowance of the lining hand stitched down along each section before moving along to the next and finally hand stitched to the back facing.This anchors the lining into place so it isn’t just free floating. The lacing panel was done in black silk satin to match the cummerbund and as a nice background for the white lacing. The binding is machine stitched and then flipped to the back and hand stitched on the interior for a very clean look.
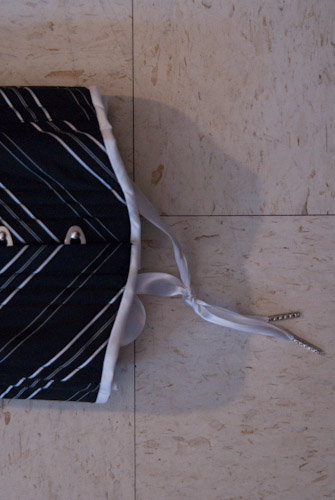
Materials: tie silk, silk satin, cotton batting, 2 layers of german coutil, 1 layer linen, 40 bones in a combination of flat and spiral, 2 piece grommets, double sided satin ribbon, and a pre-made white pique bow tie, and metal lacing ends. The lacing ends are new to me and I think they are a nice touch to the ends of the ribbons. If the corset ever has to be unlaced and re-laced the ends will be very helpful as well. For a more subdued look the white lacing could be switched out for black for instance.

We have a photo-shoot planned later this month so I hope to share more photos then.

Once again, your work is simply superlative. I don’t think there are enough quality adjectives to describe your projects. The thought and care you put into everything you do is unbelievably detailed and exquisite. This striped corset is just stunning.
I do hope we get to see your client modeling it with the outfit its designed to go with. :-) Something this pretty should not be hidden underneath other clothing!
Just Stunning.
I think that is the most beautiful thing I’ve seen, well, since your italian gown, LOL. I can’t even begin to figure out how you matched those stripes and got them to do all those things on the curved seems (even though you explained it). I’m completely floored!
This is so amazing! Words can’t describe. Thanks for sharing all the details behind the construction, that really adds to the enjoyment of this beautiful corset. Your client has fabulous taste and together you’ve come up with a gorgeous corset **jealous** :)
WOW. I had to save this in my feed reader until I could devote proper time to reading it. Totally worth it. The corset is a thing of beauty, as usual, but when you add the stripes into the mix, it seems like a miracle as well!
I can’t wait to see this matched with something else in the photoshoot. I’m picturing a top hat …
The primary intention is to be worn underneath actually. The decorative nature of this design is a hidden detail with the option to wear it more playfully with the bow tie as outerwear.
A top hat might be just lovely with it. I’m not sure exactly how we are going to style it for the photoshoot but I will keep that in mind.
Thank you all for the feedback. I do try to take in-progress shots but sometimes it is just too busy. Luckily with this project I was able to put together a more complete picture of the process than some.
I plan to continue with taking as many project photos as possible to share construction nuances since people seem to enjoy that the most on my blog. Would most of you agree with that?
Beautiful….thanks for sharing…now you have topped my favorite bloggers.