Blue & Black underbust: inprogress
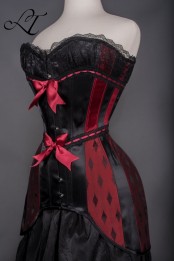
This patterning is based off of the red & black lozenge under-bust with the torso lengthened from under-bust to the waist. I wanted to make a quick corset so I just popped on the mock-up from the other corset and adjusted like I would normally. This worked since my client has the same proportions to me but is shorter waisted.
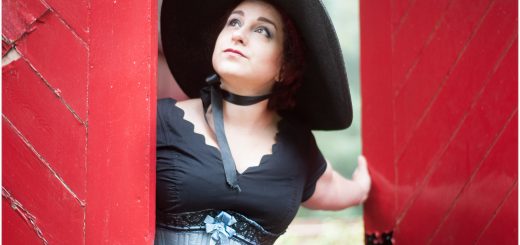
This is why I often keep mock-ups around in my workroom instead of pulling them apart for parts. It saved me a lot of time to use the pre-existing mock-up to create this new sample. I wanted to test out a couple things including using straight grain ribbon as binding and compiling different trims & lace to create texture and depth. I’m excited how it turned out. We did the final photoshoot last night:)
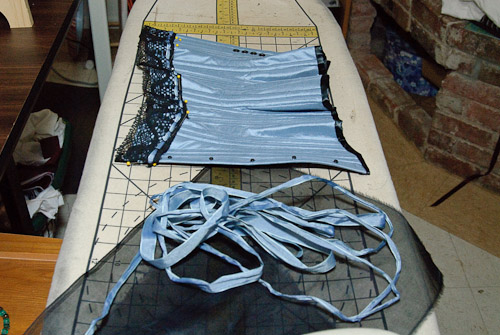
So I started with some remnants of silk from my wedding underwear. I decided to contrast stitch in black to go with the black busk & lace I intended to decorate with. A fine silk blue ribbon was made into a bow for the front and woven through the bottom of the lace. Then a decorative flat tape of blue & darker blue was hand stitched over the top & bottom edges of the lace & bottom binding. That part was my husbands idea :) He love the added texture and I agreed!
I’ll often pull out trim and lace in coordinating colors for a projects and just play with ideas laying it on the actual corset base.
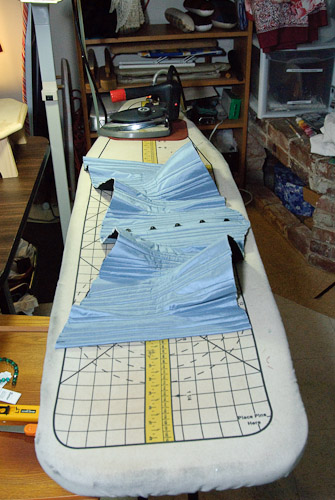
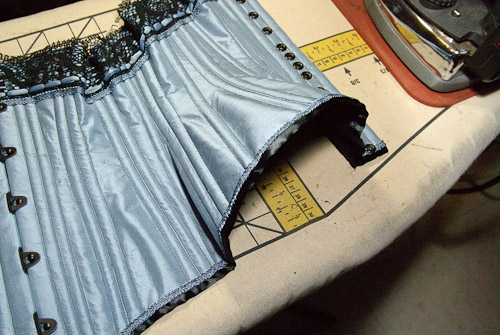
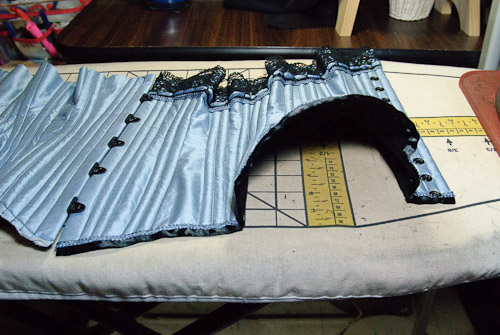
Here are the inprogress shots:
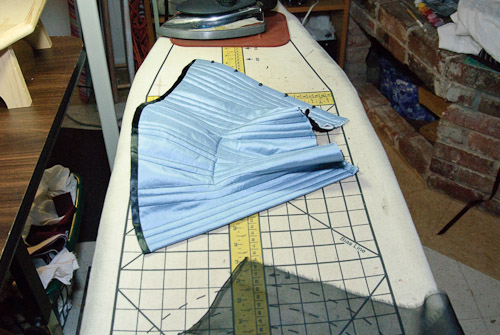
You can see it already has the shaping that wants to hold out at the hips and ribs even without any boning support. Actually adding the boning make it lay flatter.
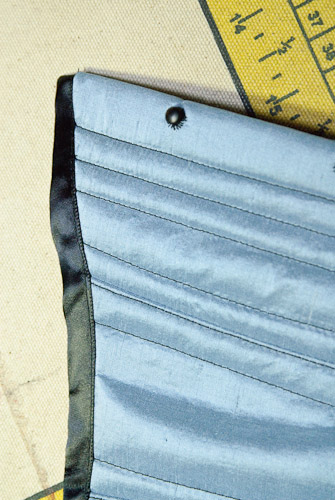
The lace actually was bound in a black ribbon that I took off. In efforts to keep this sample economical I tried applying the flat polyester ribbon along the bottom edge of the corset by machine. It worked MUCH better than I expected. I let it ripple in the inside to keep it smooth on the outside. With this very sturdy, non-bias edge it means the corset bottom is not going to mold and ease to a body as well but it make sure your hips to “grow” and get too big either! Kinda neat.
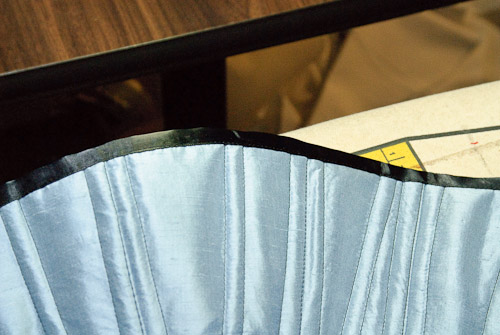
I found out that the straight grain is easy to wrap around the hip area which is convex and less easy to get it to lay smooth over a concave curve on the corset front bottom. Thus there are a few little puckers there because I could not ease it enough inwards. But it does ease outwards more easily. Again, I didn’t expect this to work at all. But I was pleasantly surprised.
Here is where it went all wonky. I also was lazy and didn’t cut the busk which is usually fine because I will hand sew the binding over both side but since I decided to machine the ribbon in it wasn’t ideal!
But it ends up looking quite lovely in the end with the applied blue trim since I could ajust its location to make the amount of black showing even across the busk area. So I decided not to undo it this time since it is not for a client. But now I know! It is always important experiment with new techniques before doing them for someone else. I don’t think I’ll use polyester ribbon again but I’m glad I tried.
Turning a solid blue corset into something spiffy & girly:
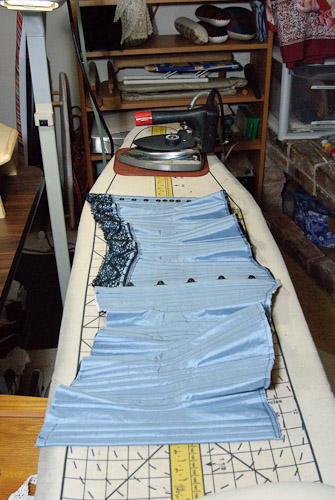
Inserting grommets, closer at the waist for more control:
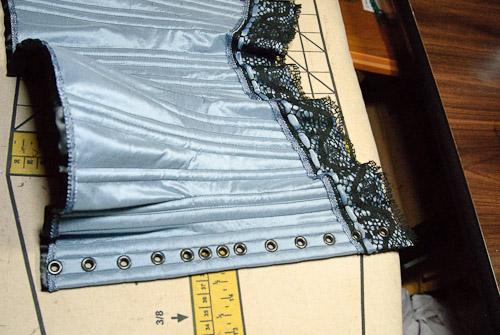
I’ve gotten many questions asking why my grommets are not evenly spaced. I do this to allow for more ribbon to be where you are going to be creating the most reduction on the corset, usually the waist. I also cross my top string down to the bottom of the bunny ears and the bottom up to the top to create a nice big set of crossing “x”s at the waist so skin doesn’t try to buldge out at the waist. If that doesn’t make sense I’ll have to lace a corset up each way and show photo differences. I don’t always set the ones closer together at the waist but tend to chose to especially on corset with more than 4” waist reduction.
Oh and I don’t recommend the black busks. Since they are power coated it make the loops and studs slightly larger in size. So when you try to latch it, it is harder to do up. And this means you are more likely to nick the finish and chip the powder coating. So just while making this one the center loop already lost some of the black. My client who has a black busk reports that part of the stud on her corset has chipped off. We are going to try to find some black enamel paint to hide the silver showing through but for now, black sharpie to the rescue. I wish I had tested the black busk on the sample first. Luckily my client isn’t upset enough to ask for it to be replaced. I really really adore the look of the black busk and wish it was a more sturdy finish. But alas, my experience on two corsets is that it is not going to last.

