Regency corset: The Mantua-Maker No. 1810-3
My best friend Rene and I are getting ready to do our yearly project. This year it will be Regency dresses in a nice striped sheer white cotton. She had already made up this pattern in my previous work space. So we decided I’d make one too. Thank you Rene for helping trace and cut out the project!
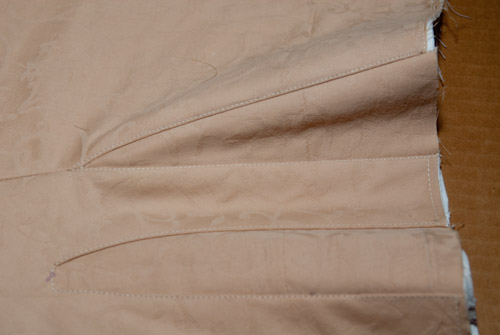
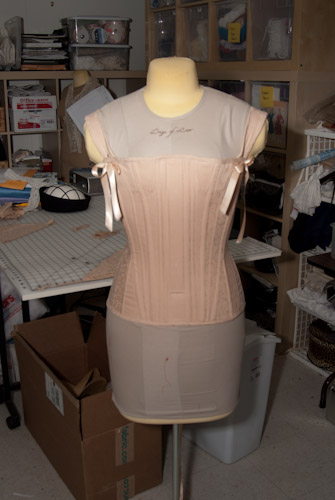
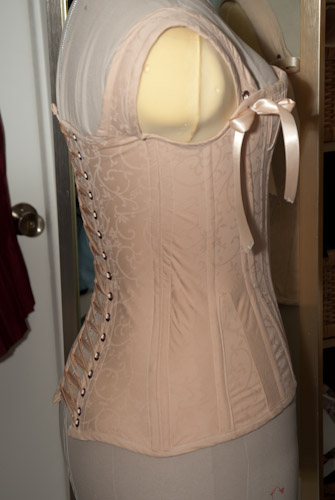
I chose a size 14 and C cup bust gores. This corset is made from two layers of domestic coutil and a layer of peach cotton that came from a pillow case I picked up at Goodwill. I love reusing fabrics :) There are a few unpicked stitch lines here and there but it doesn’t hurt the functionality and is pretty enough for me and almost free!
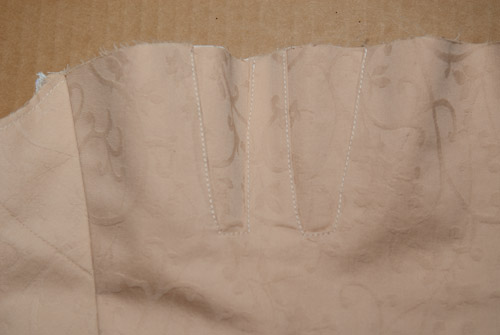
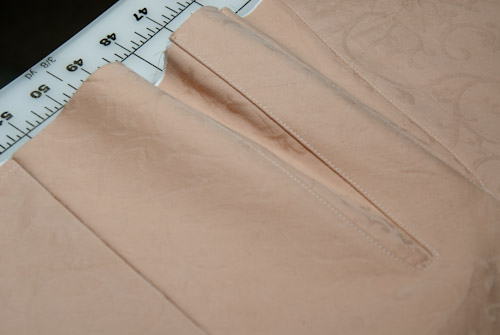
Inserting the gores:
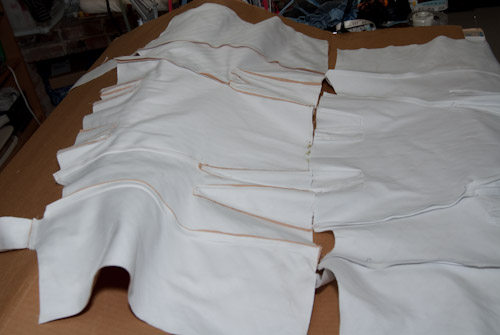
Coutil lining & cotton fashion fabric flat-lined to coutil for the outer portion:
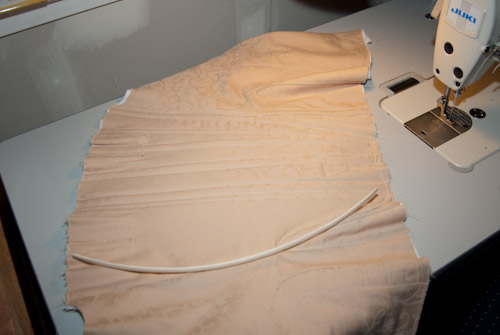
Ready to baste the layers along the seamlines and start the boning channels:
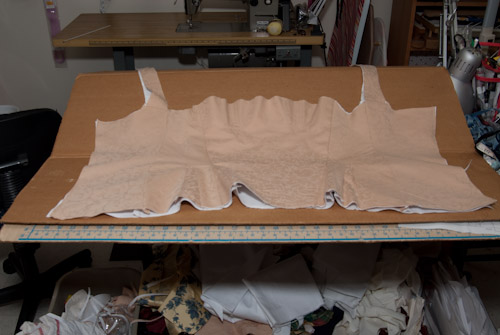
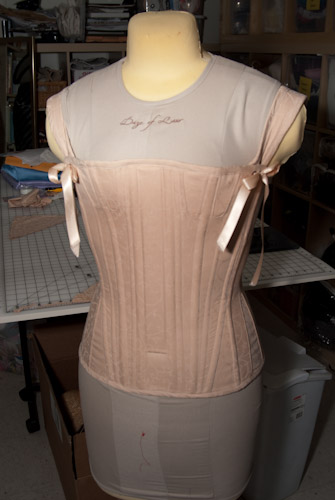
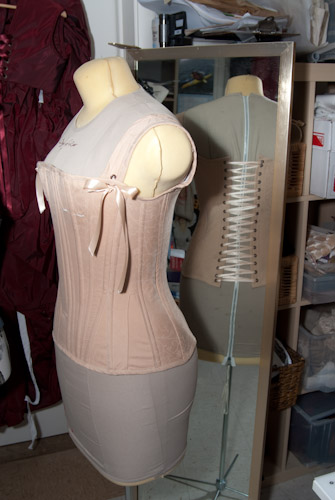
For the front busk I’ve inserted a ruler right now but plan to cut a busk to fit the full length eventually. I ran two 1/2″ reed bones next to it to keep it smooth around the stomach. All the boning in the front is reed and the ones in the back panel are flat steel. I chose to grommet this to make the project more economical. If I make a hand sewn one in future I’ll do hand done eyelets :) I applied the binding my machine too to get this done quickly so I can start draping the dress.
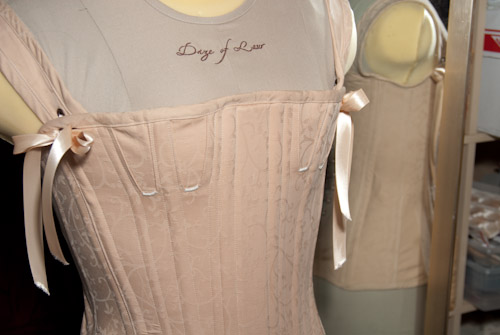
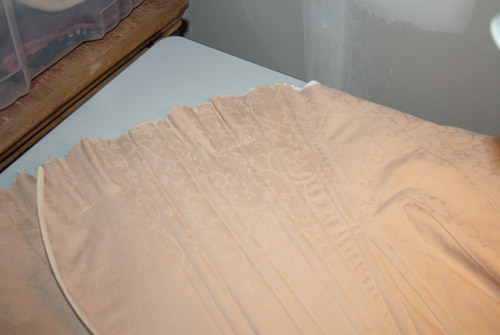
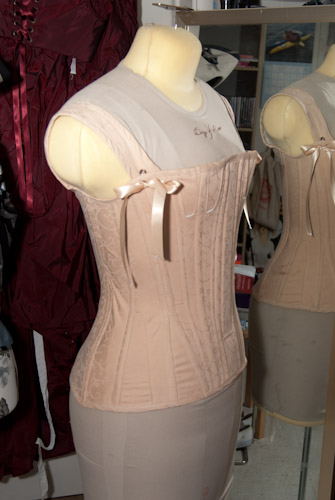
Final photos on my mannequin:
I’m tempted to add another hip gore in the back but will see if it fits more smoothly over my hips than on my foam mannequin. But I have to wait for my husband to get home to lace me in. I tried myself but got all caught up in too much ribbon even though I can reach and lace it behind me. I think it will probably fit me better than my mannequin but I do have a big butt and the pattern recommends another gore there if needed and I might need it.
I think the original lining layer we used as the mock-up was more stretchy in the bias sections of the corset than the final 3 layers. But it might, with wearing, give and fit nicely. I’ll try it on first and stop thinking about what might or might not work. Sometimes I worry too much!
Finally I chose to whip over the front bust gores at the juncture just to make sure they don’t fray or wear too much at the point where it is clipped out. By the time I did the final ones I got the hang of doing it neatly and cleanly so I almost wish I had just left well enough alone. I also think I might switch out to a nice pale cream ribbon to match the sewing instead of the peach since it doesn’t match all that well.




Very feminine! Do you mind sharing what patterns you’re using?
The pattern is what is listed in the heading of the post- The Mantua Maker No. 1810-3.
Heh. I don’t read the headers, I just look at the lovely pictures! Thank you!
I’ve been stopping by to admire your beautiful work and website for several months. This one caught my eye because I love the Regency and everything to do with it!! I’m so pleased to see an accomplished draper/drafter such as yourself use the Mantua-Maker pattern – that’s a real stamp of approval! One of these days I’ll make a Regency wardrobe…
The pattern was pretty easy to use and fit. I was fascinated with the bias of the panels. I’m sure with more experience & more research I’ll attempt to draft my own of this style in the future. As is, I found out I’m pregnant and won’t be wearing this corset! So I’m going to start researching other styles I can wear as my belly grows for under Regency dresses. I know there were other options but am not very familiar with them yet. Glad you enjoy seeing my work – makes all the time I put into my website feel worthwhile :)