Red Silk Wedding dress: pleating & details
Starting the draping:
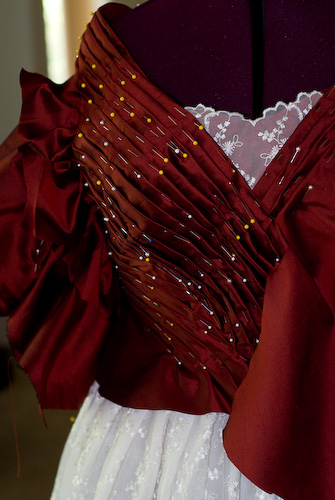
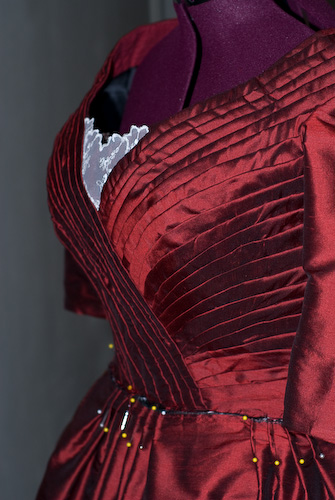
After the lining was fully fitted the silk was draped and pleated into place. The mock-up of the clients corset was saved and used to give the mannikin the correct shaping under the bodice. The pleating is then set in place with a combination of machine and hand-stitching. A mock-up of the skirt was then made and pleated into place during a fitting until we found the exact fullness and combination of pleats that was pleasing.
Over the bust curve:
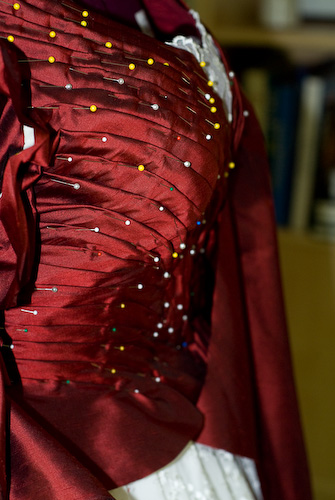
Shown over the petticoat:
Laying flat ready to sew the pleats prior to construction:
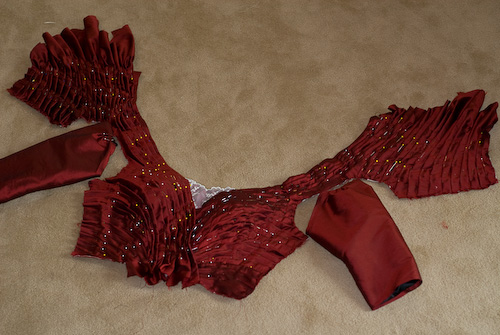
Inserting the sleeves:
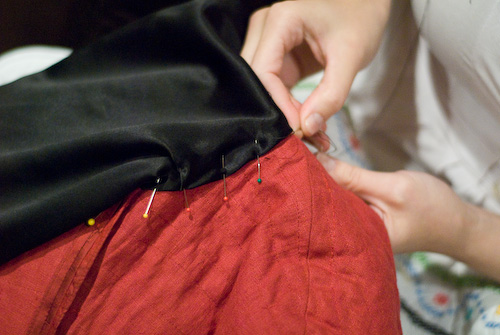
The side seams were bound and then sewn to the lining:
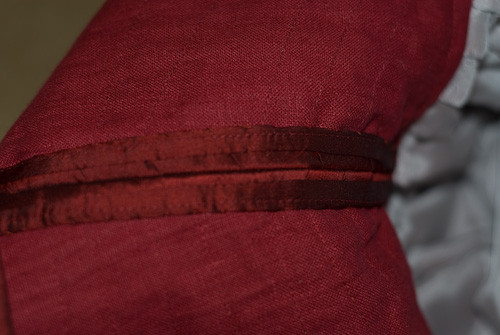
Little ribbons with snaps were added to hold her camisoles straps in place:
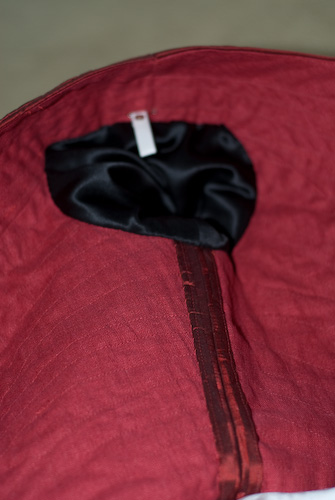
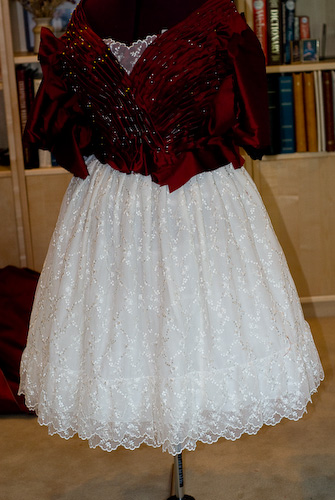
Skirt pinned on mannikin:

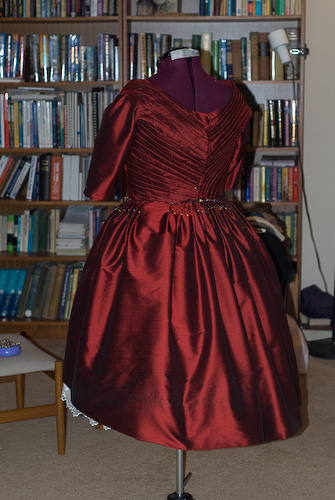
After hand-sewing the bodice pleats:
Michelle has sent permission to upload some of her wedding photos! She actually will be coming for a photo-shoot later this month but I’ll work on getting the gallery up soon and we can add the studio shots later.





WOW! That’s a lot of pleating (and pins!) It looks INCREDIBLE! I can’t wait to see the pictures of Michelle in it later on :-).
Laurie, you never cease to amaze me. The pleating detail is absolutely beautiful. Can’t wait to see the pictures of the bride in the dress!