Red and Gold pair of bodies: construction images
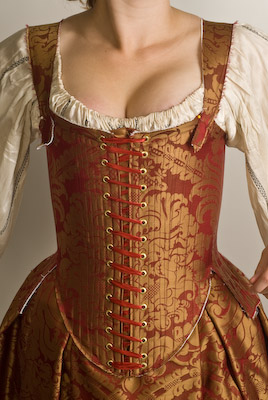
The red and gold skirt I started a while back is still sitting on a hanger. At this point I intend to attach it to a plain straight band so that it is more versatile. The project I’m showing now is a corset vaguely based on the Elizabeth I Effigy bodies. You can see the general shape is similar but it is drafted from a set of 30 measurements and not the original’s dimensions. It becomes very obvious when you look at the center front panels. I have made mine so that I can easily sit while wearing it. The original does not look that comfortable but would have supported the long pointed gowns of that era.
Compare to this photo of the Elizabeth effigy bodies (image found on google – absolute original photo source unknown to me):
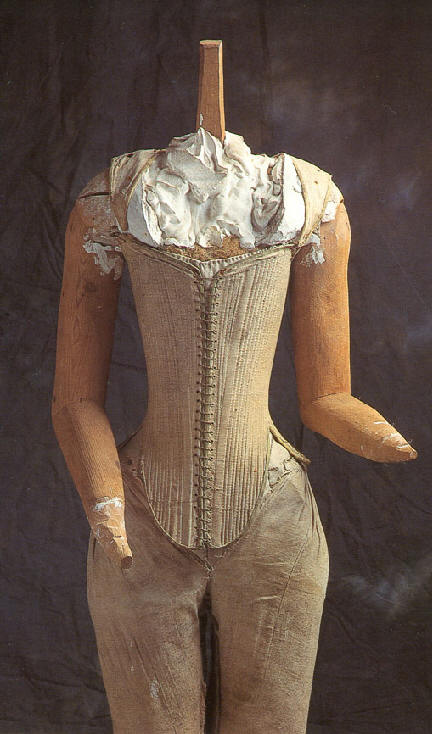
A design decision was made to have a front and back opening corset. I am aware that this pattern would have been three pieces, each finished separately, whip-stitched together. Such an arrangement would allow you to change out pieces for size adjustment. I wanted a little more range of change without having to resew anything; therefore,the back lacing will serve this function.
Next was the decision to use steel boning. I have a range of boning from different companies in different thickness and strength. I took the softest and thinnest 1/4″ I had and once I ran out of the roll I incorporated a touch of 1/2″ spring steel on the center front panels. In future I’d use all 1/4″ just for a consistent look. I used the softest because the bones are in channels side by side. A stiffer steel might have made the corset too rigid for my tastes.
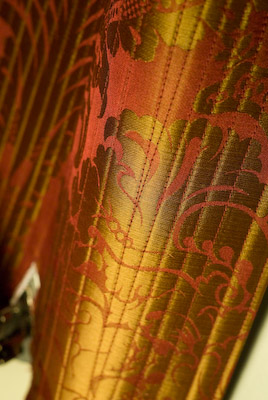
I might in future take the time to draft a cane or reed based corset pattern that allows enough room in the patterning for the roundness of those boning types. For now I’m using steel. I considered plastic zip ties but felt they were too clunky looking.
This was put together so quickly that the I didn’t get many photos. Here I will go in more depth on how I finish the the insides of my corsets. Some photos where I’ve done back tacking instead are on corsets that began as mock-up (thus less hand details)and were later on finished for my portfolio.
Steps in pulling the thread ends through and tucking into the inside lining:
Insert thread from front into needle that is already half way through:
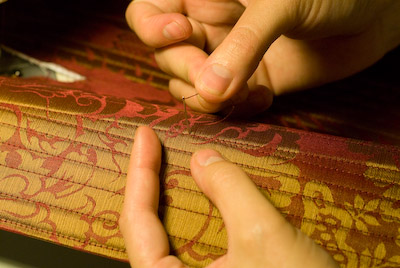
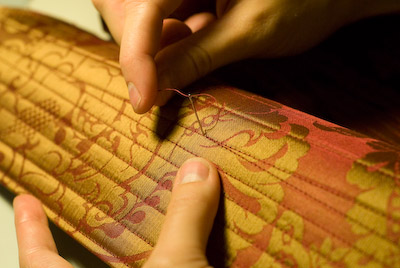
Pull end to back of corset:
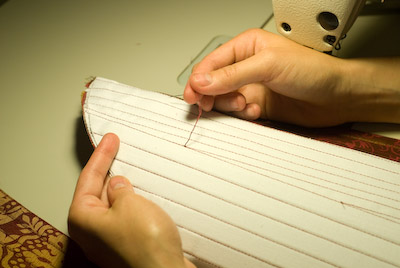
Tie a knot to the inside thread:
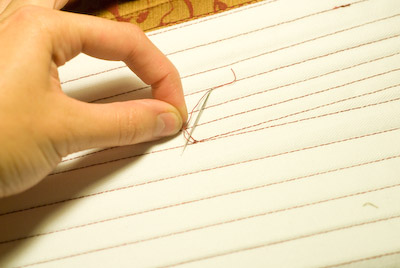
Insert both ends into needle:
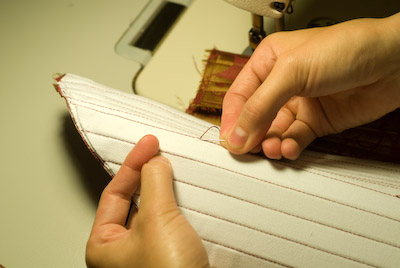
Side needle under lining material only:
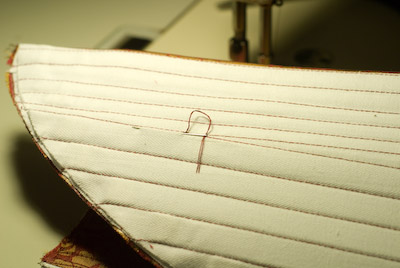
Pull through, hold ends taut and clip threads. Massage fibers back into place for a clean and neat inside finish:
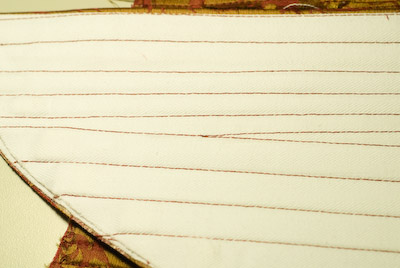
Clean and neat outside finish:
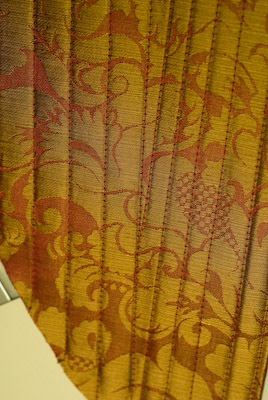
This is done by hand for every boning channel that ends before the corset edges. Those on the corset edge will be enclosed by the binding and hiding the ends is unnecessary. I’ve found this to be a neat and sturdy way to hand finish my channels.
Hope that wasn’t too silly to show. I’m going over a lot of details I’m sure people already know how to do but sometimes I think basics are fun too.
Without further ado- on to the inprogess shots:
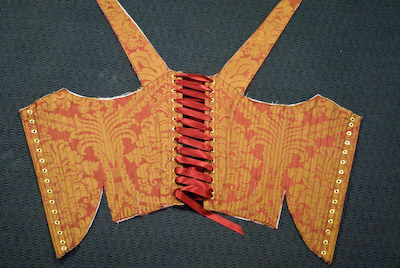
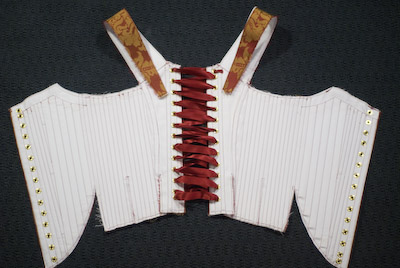
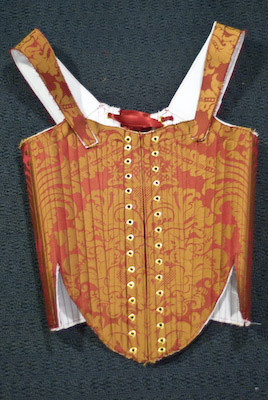
This corset is made from a layer of silk damask (pattern matched at the seams) and two layers of cotton corset coutil. It will be bound with self bias tape. The lacing is (pre-washed especially since it is red!) double satin ribbon. I’ve used grommets rather than hand bound eyelets mainly because of the sheer number of them involved.

